How to Grow Cauliflower: The Brassica That Rewards Patience
A practical, honest guide to growing tight white curds outdoors, from steady uninterrupted growth to blanching, harvest and the freezer.
When to sow & harvest
A rough guide for a temperate climate - shift it to your own zone and last-frost date. Greenhouse growing stretches both windows earlier and later.
Why grow cauliflower
Let me be straight with you before we start: cauliflower is the fussiest common brassica, and it is not the crop I would hand to a beginner. It does not forgive. Cabbage will cope with a dry spell and still give you something. Kale shrugs off almost everything. Cauliflower, by contrast, wants one thing above all - steady, uninterrupted, well-fed growth from seedling to harvest. Check that growth even once, through drought, cold, transplant shock or starvation, and the plant registers it. The result is a curd that comes small, loose and grainy, or no curd at all. Gardeners call this buttoning, and the first time it happens it is genuinely deflating.
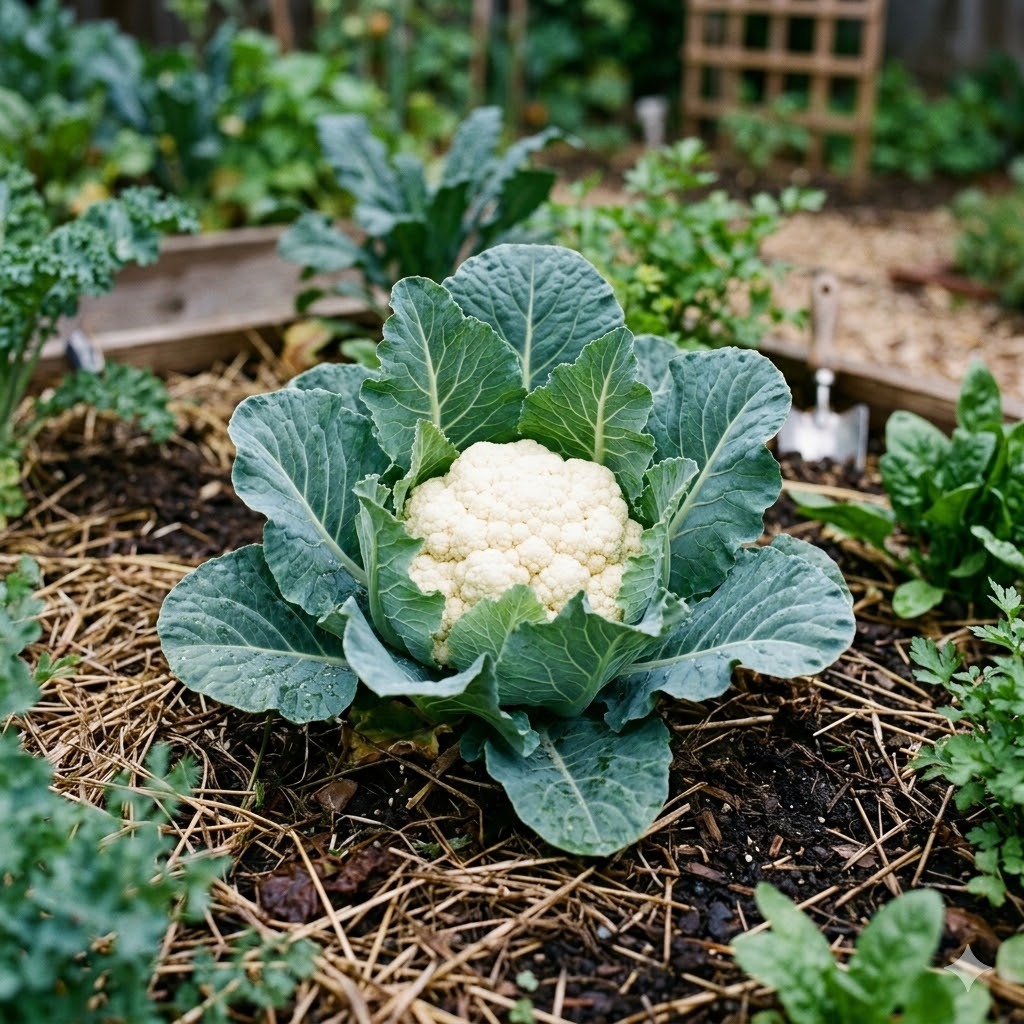
So why bother? Because a cauliflower you have grown yourself, cut with a tight, heavy, snow-white curd, is a different vegetable from the tired heads on a supermarket shelf. It is sweeter, denser and cleaner-tasting. There is also real range here that shops rarely stock: purple types, lime-green romanesco with its hypnotic fractal spirals, and orange curds that hold their colour. And there is the honest satisfaction of pulling off a crop that many gardeners quietly give up on. If you are the patient, attentive type who enjoys getting the details right, cauliflower is a genuinely rewarding challenge. If you want easy wins, grow calabrese or kale instead and come back to this one later.
Choosing a variety
The single most useful decision you make is matching the type to the season, because cauliflower is bred into distinct groups that mature at different times of year. Get this right and everything downstream becomes easier.
Summer cauliflowers are sown early under cover and cut through summer. They are the quickest but also the least forgiving of dry weather, so they suit gardeners who can water reliably. Autumn types are sown in spring, transplanted in early summer and harvested from late summer into autumn - for many gardeners these are the sweet spot, giving the plants a long, cool run into harvest. Winter cauliflowers (sometimes sold as winter or spring heading) are the slow marathon: sown in late spring, they sit in the ground over winter and head up the following spring. They occupy a bed for the best part of a year, but they crop when little else is ready.
Within those groups, decide whether you want white or colour. White types are the classic, and they are the ones that need blanching (more on that later). Purple, orange and romanesco types generally do not need blanching, which removes one whole job, and several of them are a little more forgiving than pure white summer types. If this is your first attempt, I would honestly steer you toward an autumn white variety or a romanesco - a fair season length and a decent margin for error. Buy fresh seed each year; brassica germination drops off noticeably with age.
Sowing and starting off
Cauliflower is nearly always raised in modules or a seedbed and transplanted, rather than sown where it will grow. This gives you control over those vulnerable early weeks.
Sow into modules or small pots of good multipurpose compost, one or two seeds per cell, about 1.5 cm deep. Germinate at a steady, moderate warmth - around 15 to 18 degrees is plenty. You do not need high heat, and too much warmth followed by a cold shock is exactly the kind of check that causes trouble later. Timing depends entirely on type: summer types from late winter under cover, autumn types in mid to late spring, winter types in late spring. Follow the sowing window on your seed packet, because it is specific to that variety and it matters more here than with almost any other vegetable.
Once seedlings are up, keep them growing on without a stall. Thin to the strongest single plant per cell. Do not let the modules dry out and do not let the young plants get pot-bound and starved - a cauliflower that spends too long cramped in a small cell, hungry and dry, will often button no matter what you do afterwards. Grow them on until they have four or five true leaves and a firm little rootball, then harden off over a week to ten days before planting out. The goal from seed to harvest is a single, smooth, unbroken growth curve.
Greenhouse or garden - where to grow
This is an outdoor crop. Cauliflower needs the space, and mature plants are large - you will not want them monopolising greenhouse room they do not need. Use the greenhouse or a cold frame only for raising and hardening off the young plants, then plant out into open ground.
Preparation of that ground is where cauliflower success is quietly won or lost, so do not rush it. Choose a sunny, open site with rich, deep, moisture-retentive soil that does not dry out in summer. Dig in plenty of well-rotted manure or compost the season before if you can, because the plants are hungry. Two more points are non-negotiable. First, the soil must be firm. Cauliflowers hate loose, fluffy ground; firm it by treading gently before planting and plant into that firm bed. Second, brassicas prefer a soil that is not acidic - aim for a pH around 6.5 to 7. Liming an acidic bed also helps suppress clubroot, which we will come to. If your soil is thin, sandy or drought-prone, be honest with yourself: this crop will fight you there, and a winter type on that ground is asking a lot.
Day-to-day care
Transplant when the ground is prepared and the plants are hardened off. Set them firmly - I mean it. Plant to the base of the lowest leaves, backfill, and firm the soil hard around each one with your knuckles or heel so the plant cannot be rocked. A loosely planted cauliflower wobbles, checks and disappoints. Space summer and autumn types roughly 60 cm apart each way, winter types a touch more; closer spacing gives smaller curds if that is what you want, but do not crowd them into starvation.
After that, the whole job is one sentence: never let them dry out and never let them go hungry. Water deeply and regularly, especially in dry spells and as the curds begin to form - a dry check at curd stage is a classic cause of loose, ricey heads. A mulch of compost around the plants helps hold moisture and keeps the roots cool. Feed to keep growth moving: a nitrogen-rich feed or a top dressing a few weeks after planting, and a liquid feed during the growing season keeps that unbroken momentum. Keep weeds down, but hoe shallowly so you do not tear the surface roots.
Blanching applies to white types only, and only once the curd is forming. To keep the curd white and tender rather than yellowing in sun, snap one or two of the plant's own large outer leaves over the top of the developing curd, or tie a couple of leaves loosely over it. Check underneath every few days; a covered curd can spoil unseen in warm, damp weather. Coloured and romanesco types need none of this - leave them exposed to develop their colour.
Common problems and pests
Cauliflower carries all the standard brassica troubles, and it is worth going in with defences ready rather than reacting after the damage.
Clubroot is the serious one: a soil-borne disease that swells and distorts the roots and stunts the plant, and it lingers in soil for years. There is no cure. Manage it by liming to keep the pH up, improving drainage, rotating brassicas around the plot, and raising strong plants in modules so they go out with a good root system. Cabbage root fly lays at the base of transplants and its larvae eat the roots; a simple cardboard or felt collar around each stem at planting is a cheap, effective deterrent. Caterpillars - mostly from cabbage white butterflies - can strip leaves in days; the reliable answer is to net the crop with fine insect mesh from planting so the butterflies never lay, and to pick off any eggs and caterpillars you find. That same netting keeps pigeons off, and pigeons will shred an unprotected brassica bed, especially in winter. Watch too for whitefly, aphids and slugs on young plants. The honest summary: net early, use collars, keep the pH up and rotate, and you avoid most of the misery rather than fighting it.
Harvesting
Harvest is a matter of timing and nerve. Cut while the curd is still tight, firm and dense, before it begins to loosen, separate or start pushing up into little flower buds. A curd that has gone "ricey" or begun to open has passed its best and will taste coarse. Once the first heads are ready they can come fast, especially summer types in warm weather, so check daily and be ready to cut - a two-day delay can be the difference between perfect and past it.
Cut the whole head with a sharp knife, taking a collar of the surrounding leaves to protect the curd. If several plants mature at once (they often do), you can slow things a little by lifting a plant and hanging it upside down in a cool shed for a few days, or in warm spells cut in the cool of the morning. Do not expect the plant to give you a second flush the way calabrese does; a few varieties throw small secondary sprouts, but for most types one clean head per plant is the deal.
Storing and preserving
Be realistic here: cauliflower does not store long, and this is part of the reason a home-grown one is worth the effort - you eat it at its peak. A whole head keeps in the fridge for maybe a week to ten days, loose in a bag, but the curd gradually softens and can develop a stronger smell.
For anything beyond that, freezing is the sensible route and it works well. Break the head into even florets, blanch them in boiling water for about three minutes, cool immediately in iced water, drain thoroughly and open-freeze on a tray before bagging. Blanched, frozen florets hold their texture far better than raw-frozen ones and see you through months. You can also pickle cauliflower - it is a natural in piccalilli and mixed pickles, where its firm florets keep a good bite. What you cannot really do is keep a fresh head sitting around; plan your sowings so heads come in a manageable trickle rather than all at once, and freeze the glut.
Is it worth it?
Honestly? It depends who you are. Cauliflower is the crop that most rewards experience, and I will not pretend otherwise. Your first heads may button, or come loose, or bolt in a hot dry summer, and you will learn more from those failures than from any guide. It asks for good rich firm soil, unbroken watering and feeding, early netting and a year-long commitment if you grow winter types - and it gives you, at most, one head per plant that does not keep.
Set against that: a tight, heavy, home-grown curd is a real prize, the coloured and romanesco types are things you rarely see for sale, and the sheer satisfaction of getting a difficult crop right is hard to beat. If you are a patient, attentive gardener who enjoys the details and has the soil and water to back it up, yes, it is absolutely worth it. If you are short on time, water or patience, grow something more forgiving this year and keep cauliflower on the list for when you are ready to do it justice. It rewards experience, and there is no shame in earning that first.