How to Grow Onions: The Low-Effort Staple That Keeps All Winter
Plant sets in spring, keep them weed-free and watered early, then cure the bulbs in late summer for onions that hang in the shed for months.
When to sow & harvest
A rough guide for a temperate climate - shift it to your own zone and last-frost date. Greenhouse growing stretches both windows earlier and later.
Why grow onions
Onions are one of the best crops for a beginner who wants results without much fuss. Once they are in the ground they mostly look after themselves, and a decent bed will give you a supply that lasts well into winter. That is the real payoff here. Plenty of vegetables reward you for a week or two and then they are gone, but a properly dried onion can hang in a net or a plait for months.
They are also a genuine kitchen staple. You use onions in almost everything, so a home crop is one of the few things you grow that you will actually get through rather than giving half of it away. And they take up very little room. A short row or a small block gives a useful haul, and they slot in around other crops without needing a bed all to themselves.
None of this is difficult. There is no pruning, no staking, no daily attention. If you can keep the weeds down and remember to water in the early weeks, you will get onions.
Choosing a variety
The first real decision is whether to grow from sets or from seed. Sets are small immature bulbs that were started the previous year and then stopped. You plant them, they wake up and finish the job. For a beginner this is the easier and faster route by a good margin, and it is what most people start with. Growing from seed gives you a far wider choice of varieties and works out cheaper per plant, but it is slower and needs more care early on, so it is worth trying once you have a season under your belt.
The other choice is timing. Spring-planted sets go in from around March and are harvested in late summer, which is the standard approach. There are also autumn or overwintering sets that you plant in the cooler months to sit through winter and give you an early crop the following summer. Growing some of each spreads your harvest across the year.
For colour and use, you will see red, brown and yellow types. The brown and yellow onions are the classic storing onions and are the ones to prioritise if you want a crop that keeps. Reds are milder and good raw in salads, though they generally do not store quite as long. If you specifically want small onions for pickling, look for silverskin or dedicated pickling varieties.
Sowing and starting off
Planting sets is genuinely simple. Prepare a firm, fertile bed and push each set into the soil so that just the tip is showing at the surface. Do not bury them. Space them roughly 10cm apart, with a little more room between rows so you can hoe between them. That spacing gives each bulb enough room to swell without crowding its neighbours.
One thing that catches people out in the first week: birds. Newly planted sets have a wispy dried root and a loose tip, and birds will happily tug them straight out of the ground, either out of curiosity or looking for the roots. If you come out to find sets lying on the surface, just push them back in and firm them down. Covering the bed with netting or some horticultural fleece for the first couple of weeks, until the roots have gripped, saves the daily re-firming.
If you are growing from seed instead, sow into modules or trays under cover in late winter, or sow direct into a well-prepared bed once the soil has warmed a little in spring. Seed-grown onions are thinned as they grow so they end up at similar spacing to sets. It is more work, but it opens up varieties you will never find sold as sets.
Greenhouse or garden - where to grow
Onions are an outdoor crop, and that is where they belong. They want a sunny, open position with plenty of light, so choose the brightest bed you have. A greenhouse or polytunnel is not the place for a main onion crop. They do not need the heat, and the humid, still air inside actually works against them by encouraging the fungal problems onions are prone to.
The one job a greenhouse or windowsill is useful for is raising seed-grown onions in late winter, giving them a head start before you plant them out. But the growing itself happens outdoors.
Soil matters more than shelter. Onions like firm, fertile ground that has not just been freshly dug loose. If you can, prepare the bed a while before planting so it has time to settle, and work in some well-rotted compost the previous autumn rather than fresh manure right before planting. Good drainage is important too, because sitting in cold, wet soil is one of the surest ways to lose bulbs to rot.
Day-to-day care
The single most important job is keeping the bed weed-free. Onions hate competition. They have thin, upright leaves that cast almost no shade, so weeds get all the light they want and quickly overrun them, stealing water and nutrients. Hoe or hand-weed little and often, and be careful near the bulbs because the shallow roots are easily damaged. Getting on top of weeds early is far easier than rescuing a bed that has already been swamped.
Watering is a matter of timing. In the early part of the season, while the plants are building leaf and the bulbs are starting to form, give them steady, even moisture so growth does not stall. As the bulbs mature towards the end of summer, ease right off. Onions swelling in dry conditions cure better and store longer, and too much water late on can encourage rot and soft bulbs that will not keep. So the pattern is simple: water early, then back off.
Beyond that, there is very little to do. You do not need to feed heavily if the soil was prepared well. Overfeeding, especially with too much nitrogen, just pushes soft leafy growth at the expense of the bulb, so resist the urge.
Common problems and pests
The one to take seriously is onion white rot. It is a soil-borne fungus that attacks the roots and base of the bulb, turning it soft with a fluffy white mould, and there is no cure once it is in your soil. Worse, it can survive in the ground for many years. The only real defence is prevention: rotate where you grow onions and related crops each year, and never move soil or tools from an infected bed to a clean one. If you get it, avoid growing onions in that spot for as long as you can.
Downy mildew is a fungal disease that shows as pale, yellowing patches on the leaves in damp weather, sometimes with a greyish growth. Good spacing and airflow, and not watering over the foliage late in the day, all help keep it down.
Onion fly is a pest whose larvae burrow into the bulbs. The adults are drawn in by the smell of bruised leaves, so handle plants gently and clear away any damaged foliage. Fleece over the crop keeps the flies off.
Finally, bolting, where the plant throws up a flower stalk instead of bulbing up. This is usually triggered by sets getting a cold check early on. The best insurance is to buy heat-treated sets, which have been prepared to resist bolting, and to avoid planting into cold, wet soil. If a plant does bolt, pull it and use it soon, as it will not store.
Harvesting
Onions tell you when they are ready. As the crop finishes, the green tops naturally soften, flop over and begin to yellow. That collapse is the plant shutting down and pushing its energy into the bulb, and it is your signal that harvest time has arrived. Do not be tempted to bend the tops over yourself to rush things - let it happen on its own.
Once the tops have gone over, choose a dry day and gently lift the bulbs with a fork, easing them up rather than yanking them by the leaves. Shake off loose soil but do not scrub them or peel anything back. At this stage the skins are still soft, and the bulbs need drying before they will keep.
Storing and preserving
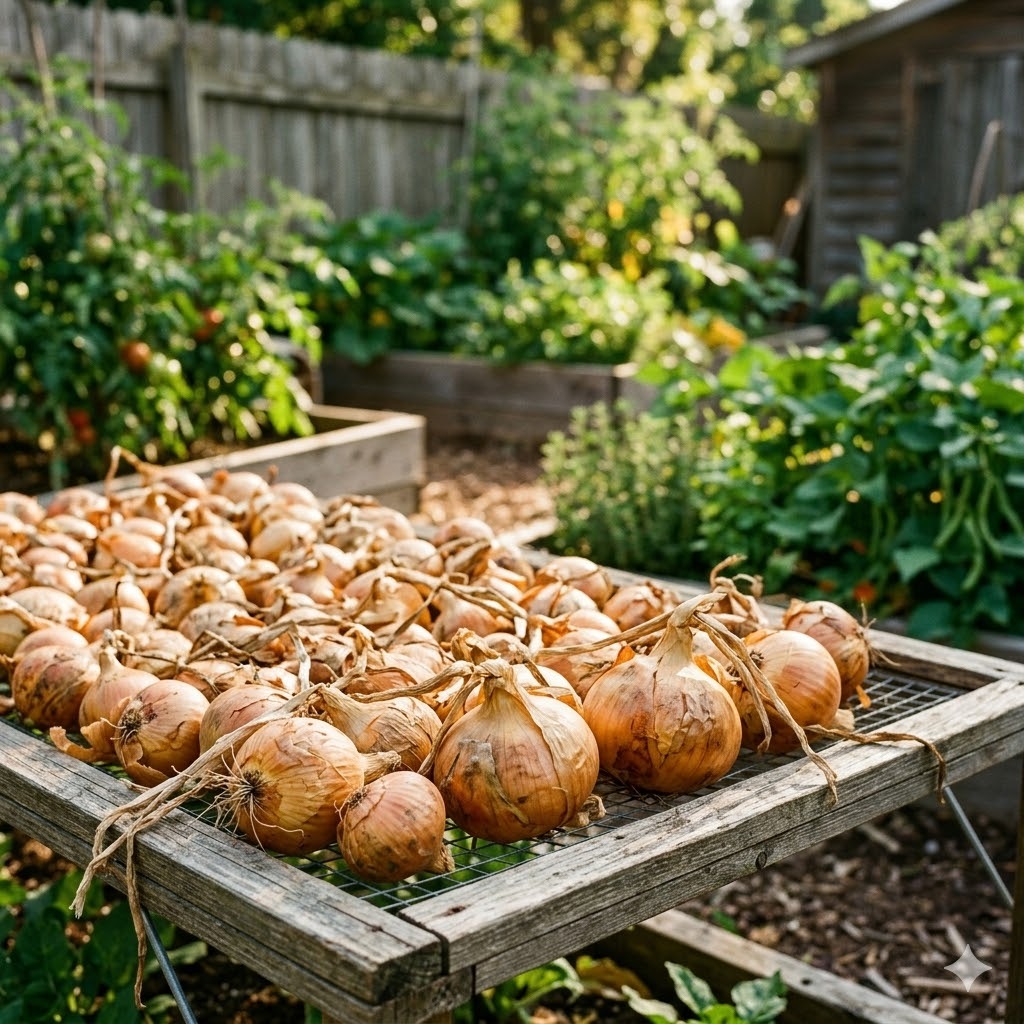
Curing is the step that turns a fresh onion into one that stores for months, and it is worth doing properly. Lay the lifted bulbs out in a single layer, ideally in the sun on a dry, breezy day, or in an airy shed or greenhouse if the weather turns wet. Leave them until the outer skins turn dry and papery and the necks have shrivelled and closed. This usually takes a couple of weeks. A well-cured onion feels firm and rustles slightly when handled.
Once cured, store them somewhere cool, dry and airy. Hanging them in nets, or plaiting the dry tops together into strings, keeps air moving around each bulb and lets you spot any that start to soften. Stored this way, good storing onions keep for many months through winter. Check them over now and then and use any that feel soft first.
Curing aside, there are two other routes. Small pickling or silverskin onions can be pickled in vinegar for a long shelf life in the jar. And for everyday use you can peel, chop and freeze onions raw in bags. They go soft on thawing so they are no good for salads, but they are perfect dropped straight into a pan for cooking.
Is it worth it?
Yes, and onions are one of the crops I would recommend to almost any beginner. The effort is genuinely low - plant, weed, water early, cure - and the reward is out of proportion to that. A single planting of sets in spring can feed your kitchen from late summer right through the winter, which very few crops manage.
They are not the most exciting thing to grow, and a bag of onions is cheap enough at the shop that you are not doing it purely to save money. What you get instead is a reliable, long-keeping staple grown the way you want it, in the varieties you choose, with none of the hassle that fussier vegetables demand. For the space they take and the attention they need, onions earn their place.