How to Grow Pears: The Tree Made for Training Flat Against a Warm Wall
A practical guide to growing pears at home, from choosing a partner for pollination to the picking trick that stops your fruit going grainy at the core.
When to sow & harvest
A rough guide for a temperate climate - shift it to your own zone and last-frost date. Greenhouse growing stretches both windows earlier and later.
Pears have a reputation for being slow, fussy and a bit of a gamble in a British garden, and there is some truth in it. But most of the disappointment comes down to two things people get wrong: planting a lonely tree that never sets fruit, and leaving the pears on the branch until they rot from the inside out. Get those two right, and a pear tree trained flat against a sunny wall is one of the most rewarding, space-saving things you can grow.
Pears are a step up from plums in difficulty, so this is a fruit for someone happy to learn a couple of habits rather than an absolute beginner. Nothing here is hard, but it does reward a bit of attention.
Why grow pears
The honest reason to grow your own pears is that a properly ripened pear is a completely different thing from the hard, gritty supermarket version. Shop pears are picked green, chilled for storage and sold rock-hard, and half the time they go straight from stony to brown without ever passing through the buttery, melting stage in between. A home-grown pear ripened on your own kitchen shelf, at its own pace, is soft, juicy and fragrant in a way you rarely buy.
Pears are also unusually well suited to small gardens, and that is their secret strength. They take beautifully to training flat against a wall or fence as an espalier or a single upright cordon. Grown that way, a tree takes almost no ground - a strip a foot deep - while the warm wall behind it soaks up sun and radiates heat back onto the fruit. In our cool climate that extra warmth is exactly what pears need to ripen well, so the space-saving trick and the ripening trick turn out to be the same trick.
The catch, and the thing to know before you buy, is pollination. Most pears cannot set a decent crop from their own flowers and need a compatible partner nearby to swap pollen with. Plant a single lonely tree of the wrong sort and you may get years of blossom and almost no fruit. It is the single most common reason home pears fail, and it is entirely avoidable if you plan for it.
Choosing a variety
Two decisions matter here: the variety on top, and the rootstock underneath.
The rootstock controls the size of the tree. Pears are usually grown on Quince rootstocks, which keep them to a sensible garden size rather than letting them tower away like an old orchard tree. Quince C makes the smaller tree and Quince A a slightly larger one - either is fine for a wall-trained cordon or espalier, and Quince is what you want if space is tight.
For the variety, think about pollination first. Because most pears need a partner that flowers at the same time, you either plant two compatible trees, choose a self-fertile sort, or rely on a neighbour's pear over the fence. A few reliable garden types worth knowing:
- Conference - the sensible first choice. It is partly self-fertile, so it will crop after a fashion on its own and crop far better with a partner, and it is hardy and dependable in cool conditions.
- Doyenne du Comice - the one grown for flavour, rich and melting at its best, but it needs a good warm spot and a pollination partner to earn its keep.
- Williams (Bon Chretien) - the classic aromatic dessert pear, early and heavy-cropping, and a good partner for others.
- Concorde - a modern, compact and heavy-cropping variety that suits smaller trained forms well.
If you have room for only one tree and no pear neighbours, lean towards Conference and accept a lighter crop, or check the nursery's pollination chart and buy a matched pair.
Planting and starting off
The best time to plant a pear is during the dormant season, from late autumn to early spring, while the tree is not in leaf. Bare-root trees bought at this time are cheaper and establish well; container-grown trees can go in at other times but need more watering to settle.
Dig a hole wider than the roots but no deeper, so the old soil mark on the stem sits level with the surface - planting too deep is a common mistake that sets a tree back for years. If you are training against a wall, put your supporting wires up first, spaced roughly a foot apart, so you have something to tie the young branches to from day one. Firm the soil gently around the roots, water it in well, and keep it watered through the first summer while the roots find their feet.
Trained forms are less complicated than they look. An espalier is just a central stem with pairs of branches tied out horizontally along the wires; a cordon is a single stem grown at an angle with short fruiting spurs along it. Both are built up gradually over a few years by tying in and shortening new growth, and the wall does much of the work by keeping everything flat, warm and easy to reach.
Where to grow
A warm, sunny, sheltered wall or fence is the ideal home for a pear, and it is worth going out of your way to give it one. Pears flower early, so a sheltered spot also protects the blossom from late frosts and gives pollinating insects a fighting chance. A south or west-facing wall is best; the reflected heat helps the fruit ripen and improves the flavour markedly.
The soil wants to be reasonably fertile and, above all, not waterlogged. Pears dislike sitting in cold, wet ground, so heavy clay that puddles in winter is a struggle. If your soil is poor or thin, dig in some compost or well-rotted manure before planting to give the roots something to work with.
Open, exposed sites are the hardest. Cold winds at blossom time knock out pollinating insects and damage the flowers, so an unsheltered garden in a cool area may give you plenty of blossom and little fruit. If a warm wall is not an option, at least choose the most sheltered corner you have.
Day-to-day care
Once established, a wall-trained pear is not demanding, but a few seasonal jobs keep it productive.
Watering matters most in the first couple of years and in dry spells while the fruit is swelling. A tree against a wall sits in a rain shadow and dries out faster than you would expect, so keep an eye on it through summer. A mulch of compost over the roots in spring helps hold moisture and feeds the tree slowly.
Pruning trained pears is mainly a summer job. In mid to late summer you shorten the long whippy new shoots back to a few leaves, which keeps the shape tight against the wall and encourages the tree to form fruiting spurs rather than more leafy growth. Winter pruning is used more sparingly, to thin out congested spurs and take out any dead or crossing wood while the shape is easy to see.
If the tree sets a very heavy crop, thin the young fruitlets in early summer so the ones that remain have room to grow to a decent size - a wall of tiny, crowded pears is worth less than a lighter crop of good ones.
Common problems and pests
Pears share most of their troubles with apples, plus one or two of their own.
Pear scab is the most common. It shows as black or olive blotches on the leaves and corky, cracked patches on the fruit, and it thrives in damp conditions. Good airflow helps, which is another reason trained, open forms do well, and clearing up fallen leaves in autumn removes where the fungus overwinters. Some varieties are more resistant than others, so it is worth asking when you buy.
Pear midge is the frustrating one. The tiny fly lays eggs in the blossom, and the affected fruitlets swell abnormally early, turn black inside and drop off before they ripen. If you see young pears blackening and falling in early summer, that is likely the culprit. Picking off and destroying the infected fruitlets before the grubs drop to the soil helps break the cycle over a couple of seasons.
Beyond those, watch for aphids curling the new leaves in spring, which a healthy tree usually shrugs off, and keep an eye out for brown rot, the fungus that turns fruit soft and mouldy, especially where wasps or birds have broken the skin. Remove and dispose of any rotten fruit rather than leaving it on the tree, where it spreads the spores.
Harvesting
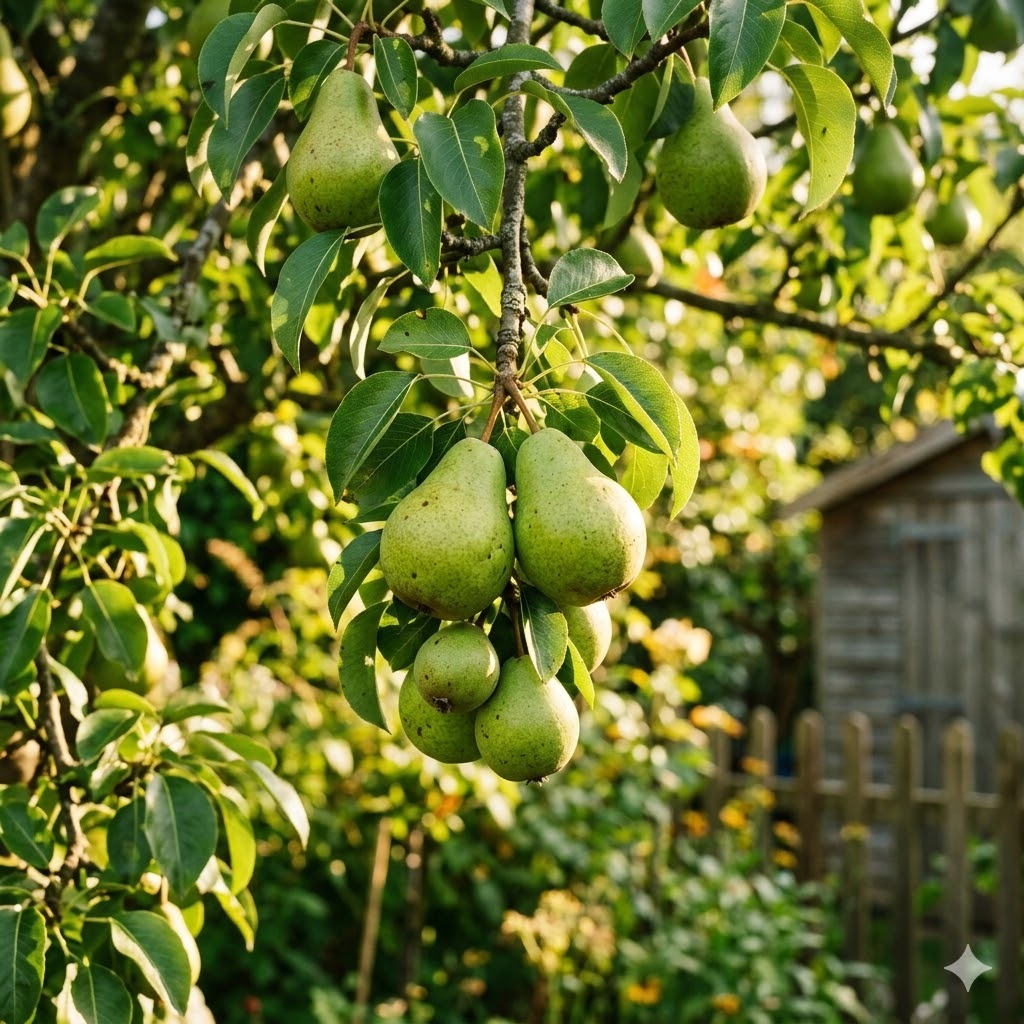
This is the part that separates a good pear from a disappointing one, and it is the single most useful thing to learn. Pears must not be left to ripen fully on the tree. If you do, most varieties go soft and sleepy from the core outwards, turning brown, grainy and mealy in the middle while the outside still looks fine.
Instead, pick them slightly under-ripe. The test is simple: cup a pear in your hand and lift it gently, tilting it upwards. If it is ready, it parts easily from the spur; if it clings and you have to tug, leave it a few more days. Pick when they lift away cleanly but are still firm.
Then ripen them indoors. Bring the picked pears inside and let them finish at room temperature over days or a week or two, checking them regularly. They are ready to eat when the flesh just below the stalk gives slightly to gentle pressure - a pear that yields at the neck is at its peak. Catching that moment is the reward for all the earlier patience.
Storing and preserving
Later-ripening pears store surprisingly well if you have somewhere cool. Pick them firm and keep them in a cool, dark, airy place such as a shed or garage, laid out in a single layer so they are not touching, and bring a few in to ripen at room temperature as you want them. Checked over regularly and used in order, a good crop can see you through several weeks of autumn.
For longer keeping, pears preserve well cooked:
- Poached or stewed - firm pears poach beautifully in a light syrup and freeze well once cooked, ready to reheat or use in puddings.
- Bottled - halved and bottled in syrup, they keep for months in the jar.
- Chutney - firmer or less-than-perfect pears make excellent chutney, which uses up a glut and improves with keeping.
Pears do not dry as famously as apples, but slices dried slowly make a pleasant, chewy snack and store well in a jar.
Is it worth it?
Yes, if you can offer a pear the two things it really wants: a warm, sheltered wall to grow flat against, and a pollination partner so it actually sets fruit. Given those, a trained pear takes almost no ground, looks handsome against a wall, and rewards you with fruit far better than the hard, gritty pears in the shops.
It is not the tree for someone who wants results this year or who has only a cold, exposed, windy plot - that is where pears disappoint people. But for a patient grower with a sunny wall, a pear is a long-lived, space-efficient tree that quietly earns its keep for decades once you have learned to plant it a partner and pick it at the right moment.