How to Grow Potatoes: The Grow-Your-Own Staple Anyone Can Master
A beginner-friendly guide to growing potatoes outdoors or in bags, from chitting seed potatoes to earthing up, dodging blight and storing a heavy harvest for months.
When to sow & harvest
A rough guide for a temperate climate - shift it to your own zone and last-frost date. Greenhouse growing stretches both windows earlier and later.
Why grow potatoes
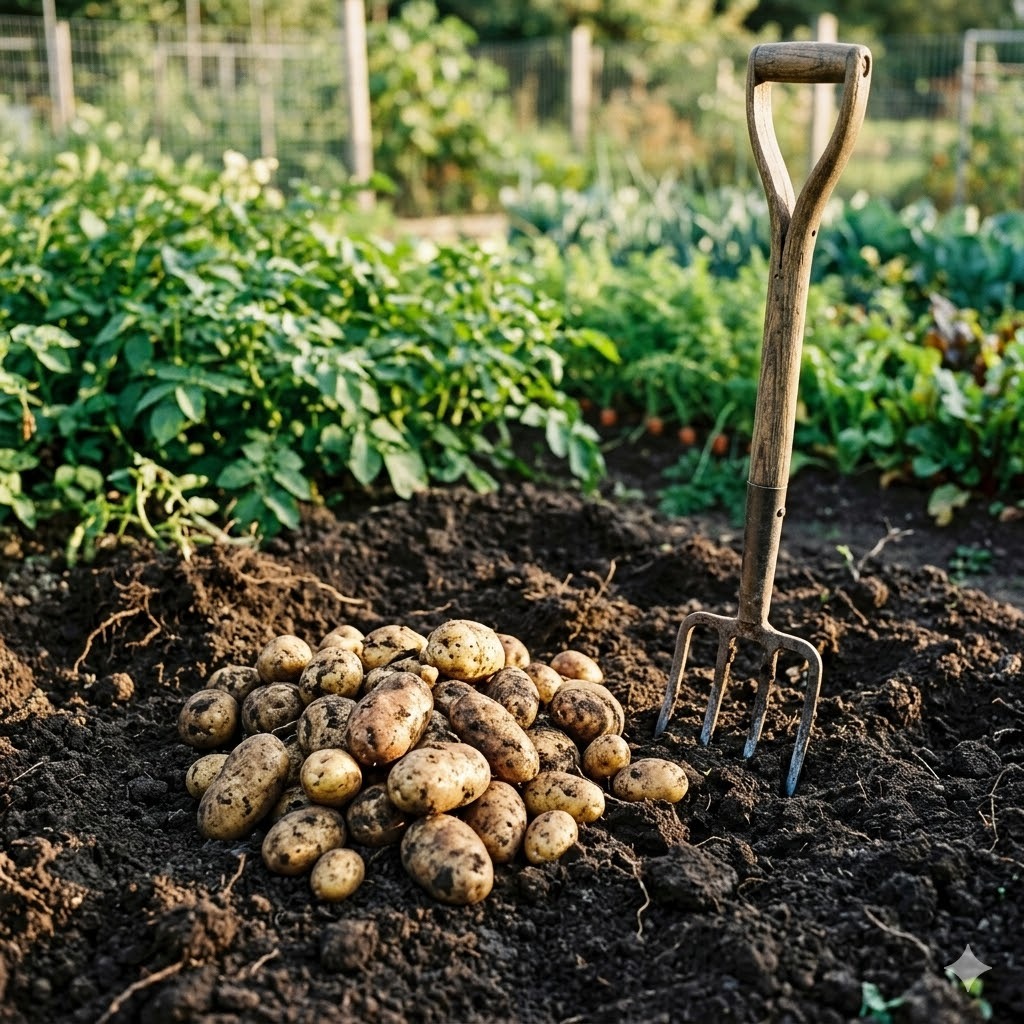
If you only grow one thing this year, make it potatoes. They are the ultimate grow-your-own staple: a handful of seed potatoes turns into a heavy, satisfying harvest, and there is a genuine thrill to tipping out a container and finding it full of clean, home-grown tubers. Few crops give beginners such a clear reward for so little fuss.
They are also forgiving. You do not need a big plot. A large bag or container on a patio, filled with compost, will grow a decent crop of new potatoes, and that makes them one of the best options if you are gardening on a balcony, a paved yard, or a small outdoor space. Get the basics right - good seed, plenty of water, and a bit of earthing up - and the plants largely look after themselves.
Potatoes are an outdoor crop. They want open air, sun, and room for their leafy tops to grow, whether that is in the ground or in a bag on the patio.
Choosing a variety
The single most important rule: grow from certified seed potatoes, not potatoes from the shop. Seed potatoes are grown and inspected to be free of the diseases and viruses that quietly wreck a crop. Supermarket potatoes may carry those problems, and many are treated to resist sprouting anyway, so they make an unreliable start. Certified seed is cheap and worth every penny.
Varieties are grouped by how quickly they crop and when you plant them:
- First earlies give you new potatoes in roughly 10 weeks. You plant them in early spring and lift them young, when they are small, waxy, and sweet. They are the fastest and, for beginners, the most rewarding.
- Second earlies follow on a few weeks behind first earlies - a middle ground between new potatoes and a storing crop.
- Maincrop stays in the ground the longest but gives the biggest yield and produces the larger potatoes you can store for months. The trade-off is that a long season in the soil means more exposure to blight, the crop's main enemy (more on that below).
For a first attempt, first earlies are the easiest win. If you have the space and want a store of potatoes for winter, add a maincrop, and where you can, choose a variety described as blight-resistant.
Sowing and starting off
Potatoes are not sown from seed like most vegetables - you plant the tuber itself. Before planting, give them a head start by chitting, which simply means letting them sprout.
To chit, stand the seed potatoes in an egg box or shallow tray, with the end that has the most small "eyes" facing upwards, and put them somewhere cool, bright, and frost-free. A windowsill in a cool room works well. Over a few weeks they grow short, sturdy, green-purple shoots. You want stubby shoots, not long pale straggly ones, which is why bright light matters. Chitting is most worthwhile for earlies, where every extra day counts toward an early crop. Maincrops benefit too, but are less fussy about it.
Wait until the worst of the frosts have passed before planting out, as young potato shoots are damaged by frost. When the time comes, you have two main options:
- In the ground: dig a trench about a spade's depth and space the seed potatoes roughly 30cm apart along it, shoots pointing up, then cover them over.
- In a bag or large container: put a layer of compost in the bottom, sit 1 to 3 seed potatoes on it depending on the size of the bag, and cover them with more compost. One tuber in a small bag, up to three in a large one, is a good rule of thumb.
Either way, plant them a few inches deep and water them in.
Greenhouse or garden - where to grow
Potatoes are firmly an outdoor crop, so this is really a choice between open ground and containers rather than needing a greenhouse.
Open ground suits maincrops and larger plantings. The soil holds moisture well and there is room for a proper harvest, but you do need the space and a bit of digging.
Bags and containers on a patio are ideal for beginners, small spaces, and earlies. They warm up quickly in spring, you can move them into a sunny spot, and harvesting is as easy as tipping the bag over. The catch is that compost in a bag dries out fast, so containers need more frequent watering than ground-grown plants.
Wherever you grow, pick the sunniest spot you have. Potatoes crop best in full sun with plenty of light on their leaves.
Day-to-day care
Two jobs make the difference between an average crop and a good one: earthing up and watering.
Earthing up is the key technique. As the leafy stems grow, draw soil or compost up over the base of them, leaving just the top few inches of foliage showing. Repeat this every couple of weeks as they grow taller. In a bag, that means starting with the container only part-filled and topping it up with compost as the plants rise.
Earthing up does two important things. It boosts your yield, because tubers form along the buried stem, and it keeps the developing potatoes covered and in the dark. That second part matters for safety: tubers exposed to light turn green, and green potatoes contain solanine, a natural toxin - do not eat green potatoes. Keeping them well covered avoids the problem entirely.
Watering is the other essential. Potatoes need steady moisture, and they are especially thirsty once the tubers start swelling, which is roughly around flowering time. A dry spell at that stage means a smaller crop. Container plants dry out fastest, so check them often and water generously in warm weather. Beyond that, they need very little - no staking, no pruning, just consistent water and regular earthing up.
Common problems and pests
The main enemy is blight. In warm, wet, humid weather it appears as brown patches on the leaves, often with a paler edge, and it spreads through the crop alarmingly fast, rotting foliage and eventually the tubers. There are a few honest ways to handle it:
- Grow earlies to dodge it. Blight tends to strike later in the season, so a quick early crop is often lifted before it arrives. This is the simplest strategy for beginners.
- Choose resistant maincrops where you can, since some varieties shrug it off far better than others.
- If it strikes, act fast. Cut off and remove all the foliage (do not compost it) to stop the disease travelling down into the tubers. The potatoes already in the ground can then often be lifted and used, even if the tops are gone.
Two lesser problems to know:
- Scab shows as rough, corky patches on the skin. It is cosmetic only - peel it off and the potato underneath is perfectly good to eat.
- Slugs can bore holes into tubers, especially in wet ground or a slow-to-lift maincrop. Lifting the crop promptly once it is ready limits the damage.
Harvesting
How and when you harvest depends on the type.
Earlies: these are ready when the plants come into flower. You do not need to dig up the whole plant - gently rummage into the soil or bag with your hand, feel for the tubers, and take what you need for that meal. Because new potatoes taste best fresh, harvesting a little at a time as you want them works beautifully.
Maincrop: leave these until the foliage yellows and dies down naturally in late summer or autumn, which tells you the tubers have finished swelling and their skins have set. Lift them on a dry day if you can. Dig carefully, starting well away from the stems so you do not spear the potatoes, and go through the soil thoroughly to find every one. Any left behind can sprout as unwanted "volunteers" the following year.
Storing and preserving
New potatoes from earlies do not really store - eat them fresh, which is the whole point of them.
Maincrop is different and can keep for months if you store it properly. After lifting, cure the skins by leaving the dry potatoes out for a few hours so the skins firm up. Then store them in paper or hessian sacks - something that lets them breathe and keeps out the light - and keep them somewhere cool, dark, and frost-free. Checked over now and then, a good store lasts well into winter.
A few rules for storing:
- Only store sound tubers. Do not store damaged or green ones, as damaged potatoes rot and spoil their neighbours, and green ones are not safe to eat.
- Keep them in the dark. Any light will turn stored potatoes green over time.
You can also freeze potatoes if you par-cook them first - blanch or partly boil, cool, then freeze - which is handy for a glut. And of course, in a cool dark store, maincrop potatoes keep raw for months with no processing at all, which is exactly why they have fed households through winter for generations.
Is it worth it?
Absolutely, especially for a beginner. Potatoes ask very little - decent seed, sun, water, and a few minutes of earthing up now and then - and pay you back with a genuinely heavy harvest. The moment you tip out a bag and find it heavy with clean tubers is one of the most satisfying in the whole growing year.
They fit almost anywhere, from a full plot to a single bag on a patio, and a batch of first earlies is close to foolproof. Add a blight-aware maincrop once you have the hang of it and you can grow enough to store for winter. For the effort involved and the reward you get, few crops make a stronger case for growing your own.