How to Grow Pumpkins and Squash: Big Sprawling Plants, Storable Reward
A beginner's guide to growing summer and winter squash outdoors, from sowing after frost to curing pumpkins that keep for months.
When to sow & harvest
A rough guide for a temperate climate - shift it to your own zone and last-frost date. Greenhouse growing stretches both windows earlier and later.
Why grow pumpkins and squash
Pumpkins and squash are among the most rewarding crops for a beginner, partly because they are so forgiving and partly because they are so productive. Give them sun, space, and rich soil, and they will mostly get on with it. One or two plants can feed a family for weeks.
It helps to know the two camps early on. Summer squash - courgettes (zucchini), pattypan, crookneck - are eaten young and soft-skinned. You pick them small and often, and they do not keep. Winter squash and pumpkins - butternut, kabocha, spaghetti squash, carving pumpkins - are left on the plant to mature, develop hard skins, and then store for months in a cool room. Same family, very different habits. Deciding which you want shapes everything that follows.
They are honestly not the crop for a tight balcony or a fussy small plot. These are hungry, thirsty, spreading plants. But if you have a corner of ground and a compost heap, few vegetables give back so much for so little skill.
Choosing a variety
Start by choosing between summer and winter types, because they behave differently in the garden and the kitchen.
If you want quick results and a steady picking crop, go for a summer squash. A single courgette plant will produce more fruit than most households can eat, and it starts cropping within a couple of months of sowing. These are the easiest entry point for a first-timer.
If you want something to store, choose a winter squash or pumpkin. Butternut is reliable and stores well. Kabocha and crown prince are sweet and dense. For carving at Halloween, look for a large field-pumpkin variety - but be clear with yourself that carving pumpkins are bred for size and thin walls, not flavour. If you want to actually eat what you grow, pick a smaller culinary pumpkin or a butternut instead. Trying to make soup from a giant carving pumpkin is a disappointing afternoon.
Space is the other deciding factor. Most winter squash send out long, rambling vines that can cover several square metres. Some varieties are described as "bush" or "compact" - these are worth seeking out if your plot is small. Smaller-fruited types can also be trained up a strong support, which we will come to.
Sowing and starting off
Pumpkins and squash are frost-tender and love warmth, so timing matters. There are two sensible routes.
The first is to sow indoors in late spring, three or four weeks before your last expected frost. Sow seeds on their edge (this helps them not rot) in individual pots, about 2cm deep, and keep them somewhere warm and bright. They germinate fast, often within a week, and grow quickly. Do not sow too early - a root-bound plant sitting in a small pot for weeks is worse off than a younger one planted at the right time.
The second route is to sow direct into the ground once all danger of frost has passed and the soil has warmed. Sow two or three seeds together where each plant is to grow, then thin to the strongest seedling. Direct sowing avoids any transplant check, but you lose the head start.
Whichever you choose, harden off indoor-raised plants for a week or so before planting out - moving them outside during the day and back in at night, or into a cold frame, so the shift outdoors is gradual. Plant them out only when nights are reliably mild.
Greenhouse or garden - where to grow
This is an outdoor crop, plain and simple. You do not need a greenhouse. Pumpkins and squash want open ground, full sun, and room to sprawl, and they crop happily in a normal garden bed or even a large mound of compost.
Where a greenhouse or cold frame earns its place is only at the start - for germinating seed and raising young plants in the cool weeks of late spring. Once the plants are up and the weather is warm, their home is outside.
Give them the sunniest spot you have, with shelter from strong wind, and rich soil. These plants are heavy feeders. The classic method is to plant onto a low mound of well-rotted manure or garden compost, which holds moisture and feeds the roots as they grow. Many gardeners plant squash straight onto or beside the compost heap for exactly this reason. Space plants generously - at least 90cm apart for bush types, more for ramblers.
Day-to-day care
Once established, the main jobs are watering and feeding.
Water is the big one. Pumpkins and squash have large leaves and lose a lot of moisture, and they set fruit poorly if they go short. Water deeply and regularly, especially in dry spells and once the fruits are swelling. Try to water the soil at the base rather than wetting the leaves, which helps keep disease down. A mulch of compost around the base holds moisture and keeps roots cool.
Feeding helps a great deal once fruit begins to form. A high-potash liquid feed (the kind sold for tomatoes) every week or two encourages good fruit rather than just leaves.
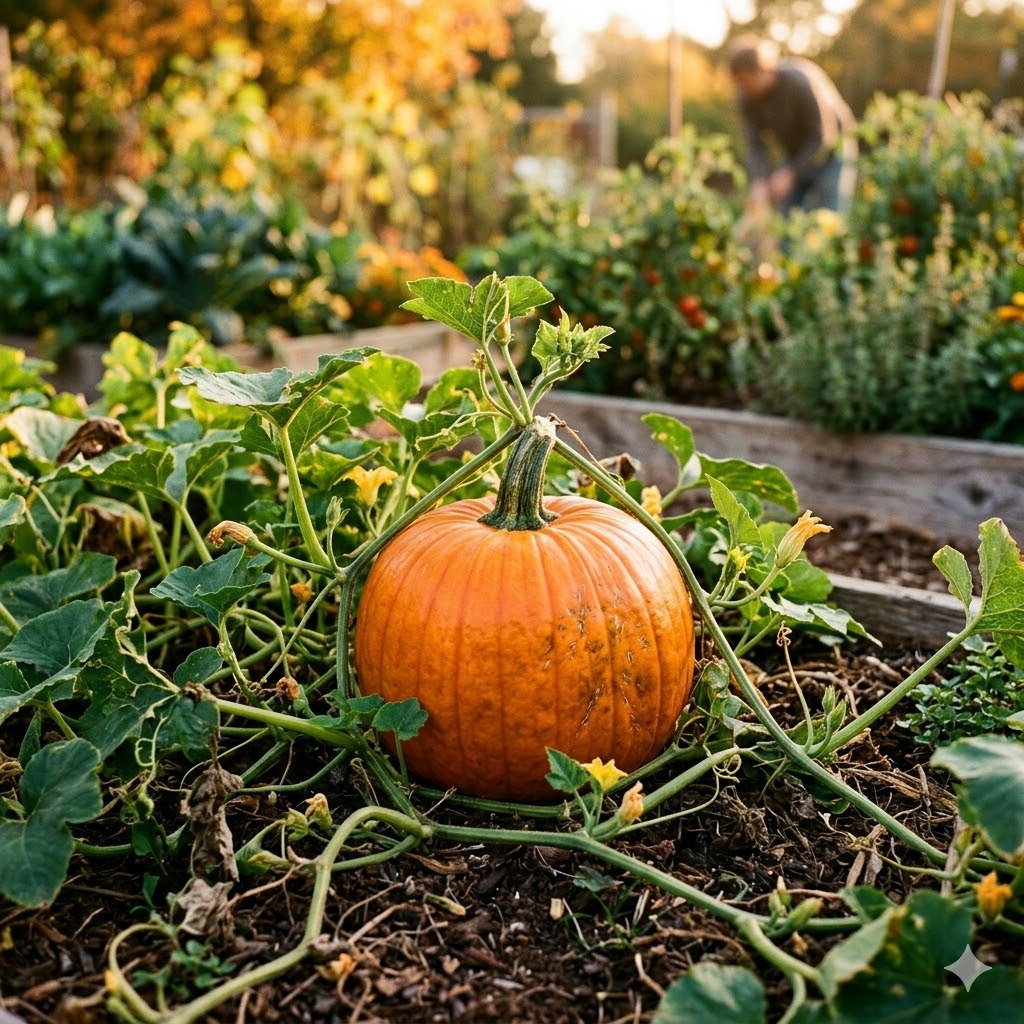
The vines will roam. You can simply let them sprawl across the ground, which is what they do naturally. For smaller-fruited squash, you can train the vines up a strong trellis, arch, or sturdy support to save space - just make sure the structure is genuinely robust, as a laden vine is heavy. Very large fruits are best left resting on the ground, ideally on a tile, board, or bed of straw to keep them off damp soil and stop them rotting underneath.
Hand-pollination is a useful trick if the weather is cold or you see flowers dropping without setting fruit. Pick a male flower (a plain stem behind it), strip the petals, and dab its centre against the female flowers (these have a tiny fruit behind them). It takes seconds and can rescue a slow start.
Common problems and pests
The most common headache is powdery mildew - a white, dusty coating on the leaves, usually arriving in late summer. It looks alarming but rarely kills a mature plant, and by the time it appears you are often near harvest anyway. Watering at the base rather than overhead, and giving plants good spacing and airflow, both help delay it. Remove the worst-affected leaves.
Poor fruit set is the other frequent complaint, and it is almost always down to cold, wet weather at flowering time, when pollinating insects are scarce. You may see plenty of flowers but few fruits, or tiny fruits that shrivel and drop. Hand-pollination, as above, is the fix. Warm weather usually sorts it out on its own.
Slugs and snails are the real danger to young plants. A row of tender squash seedlings can be stripped overnight. Protect them while small - with barriers, traps, or evening patrols - until the plants are large and tough enough to shrug off a little grazing. Once a squash plant is well grown, slugs are much less of a threat.
Harvesting
How you harvest depends entirely on which type you grew.
Summer squash are picked young and often. A courgette is best at 10-15cm; leave it a few days longer and you have a marrow. The more you pick, the more the plant produces, so keep on top of it - check every couple of days in the peak of summer. Cut them cleanly with a knife rather than tugging.
Winter squash and pumpkins are the patience crop. Leave them on the plant as long as possible to mature fully. They are ready when the skin has hardened enough that you cannot dent it with a thumbnail, the colour has deepened, and the stem has begun to dry and cork (turn woody and brown). Try to harvest before the first hard frost. Cut them with a good length of stem attached - the stem is a seal, and a squash with a broken stem will not store well.
Storing and preserving
This is where winter squash come into their own, and it is worth doing properly.
After cutting, winter squash and pumpkins need curing. Leave them somewhere warm, dry, and sunny - a sunny windowsill, a greenhouse, or a warm room - for one to two weeks. Curing hardens the skin further and heals small nicks, and it noticeably improves flavour and keeping quality. Once cured, store them somewhere cool, dry, and airy, ideally around 10-15C, not touching each other. A well-cured butternut or crown prince can keep for many months - often right through winter into spring.
Summer squash do not store; they are for eating fresh or preserving. A glut of courgettes can be turned into chutney, sliced and frozen for cooking, or grated into cakes and fritters.
For pumpkins and winter squash beyond whole-storage, the easiest preserve is puree: roast the flesh until soft, blend it smooth, and freeze in portions for soups, pies, and bakes. Soup itself freezes well too. Between whole-storing the cured fruit and freezing puree, a single good harvest can stretch across much of the year.
Is it worth it?
For a beginner, yes - genuinely. Pumpkins and squash reward you out of all proportion to the effort. A courgette plant or two will keep a kitchen busy all summer, and a few winter squash plants can fill a shelf with fruit that feeds you for months, from nothing more than good soil, sun, and water.
The honest caveats are space and appetite. These plants sprawl, so they are not for the smallest plots, and a single courgette plant can produce more than you ever wanted to eat - ask any gardener in August. But if you have the room and a compost heap to plant into, few crops give back so much for so little fuss. For storable, season-stretching value from a beginner-friendly plant, they are hard to beat.