How to Grow Shallots: One Set, a Whole Cluster of Bulbs
A practical guide to growing shallots from sets planted in late winter to a summer harvest, including why each set multiplies into a cluster, how to keep the roots from lifting and how to dry them for long storage.
When to sow & harvest
A rough guide for a temperate climate - shift it to your own zone and last-frost date. Greenhouse growing stretches both windows earlier and later.
Shallots are one of the most obliging crops in the whole vegetable garden. You push a single small bulb, called a set, into the soil in late winter, and by summer it has multiplied itself into a whole cluster of new bulbs. There is very little to do in between. For a beginner wanting a near-guaranteed success with minimal effort, shallots take some beating, and they hand you a milder, sweeter, more refined allium than the onion into the bargain.
They also store beautifully. A good crop of shallots, properly dried, will keep for many months in a cool dry place, so a modest patch of ground can supply your kitchen deep into the following year. Grown from sets rather than fiddly seed, they are quick to plant and quick to establish, and the whole business feels almost too easy. This guide takes you through it all, from pressing in those sets to plaiting up the dried bulbs for storage.
Why grow shallots
The first reason is the flavour. Shallots are milder, sweeter and more delicate than onions, with a subtlety that cooks prize. Used raw they are gentler and less harsh; softened in a pan they melt down to a fine sweetness that lifts sauces, dressings and countless dishes. In the shops they are often noticeably dearer than onions, which makes growing your own doubly worthwhile.
The second reason is the extraordinary return for the effort. Plant one set and you harvest a cluster - typically several bulbs from each one you put in. That multiplication, combined with how little the crop asks of you, makes shallots one of the best value things you can grow. A short row of sets in spring becomes a generous basket of bulbs in summer.
The third reason is keeping quality. Shallots store better than most onions, holding firm and sound for many months if dried properly, so unlike a crop you must eat quickly, they let you spread the harvest across much of the year. Combine easy growing, high yield and long storage and you have a genuinely rewarding, low-fuss crop.
Choosing a variety
Shallots are usually grown from sets, and the main choices are colour, shape and whether the sets are heat-treated.
Brown or golden-skinned varieties are the traditional, reliable sorts, giving firm bulbs with the classic mild shallot flavour and excellent keeping quality. These are the dependable all-rounders and a fine place to start.
Red or pink-skinned varieties have a slightly different, often a touch sweeter flavour and look handsome in the kitchen and on the plate. They generally store well too, though sometimes a little less long than the browns.
You will also see banana or elongated shallots, which produce longer, torpedo-shaped bulbs that many cooks rate highly for their fine flavour and ease of peeling and slicing.
One useful thing to look for is heat-treated sets, which have been given a temperature treatment by the supplier to reduce the tendency to bolt, that is, to run prematurely to flower. If bolting has troubled you before, or you are planting early, heat-treated sets are worth seeking out. Growing shallots from seed is also possible but slower and more finicky, so most gardeners stick with sets.
Sowing and starting off
Shallots are planted as sets, not sown from seed, which is what makes them so quick and easy to get going. The main planting window is late winter into early spring, from around late February into March, as soon as the soil is workable and not frozen or waterlogged. In milder areas some varieties can go in during autumn, but the late-winter to early-spring planting is the standard and most reliable.
Preparing the bed is simple: a sunny, open site with firm, well-drained soil that is not freshly manured. Rake it to a reasonable tilth and you are ready.
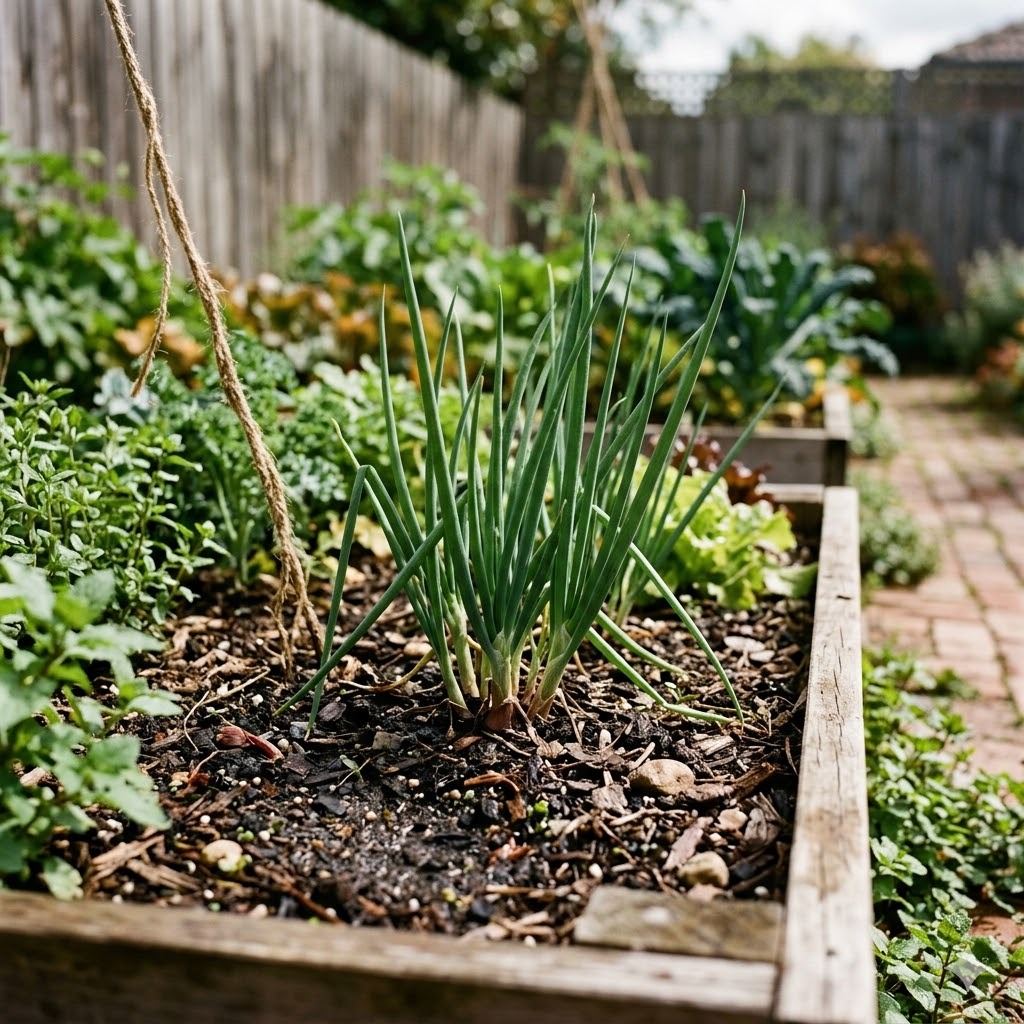
To plant, push each set gently into the soil so that just the tip, the pointed nose, shows above the surface, spacing them around 15 to 18cm apart with about 30cm between rows. Do not bury them completely, and do not force them in hard, as pressing them into firm soil can damage the base plate from which the roots grow. It is better to make a small hole or draw a shallow drill and settle each set in, then firm the soil lightly around it.
One quirk to watch for: newly planted sets are often pushed up out of the ground, either by frost heaving the soil or, more comically, by birds tugging at the dry papery tips. Firm any that lift back into place, and it can help to cover a new planting with netting or fleece for the first few weeks until the roots take hold and anchor the bulbs.
Where to grow
Shallots are a straightforward outdoor crop. They want an open, sunny position and light, free-draining soil - they dislike sitting in cold, wet ground, which can cause the sets to rot before they get going. A spot that gets plenty of sun and dries out reasonably in spring is ideal, as good light and warmth help the bulbs ripen and develop flavour.
Avoid ground that has been recently manured, since too much fresh nitrogen encourages soft, leafy growth and can lead to bulbs that store poorly. Following on from a crop that was well fed the previous year is perfect, which fits neatly with keeping alliums in their own place in a rotation.
There is no need for a greenhouse or any protection with shallots; the crop lives its whole life outdoors. The only cover you might use is a temporary sheet of fleece or netting over a fresh planting to stop birds pulling the sets out and to shelter them through the coldest early weeks, and even that is often unnecessary. Beyond that, they are a plant-and-leave crop of the open garden.
Day-to-day care
Once planted and rooted, shallots need very little attention, which is a large part of their charm.
The main ongoing job is weeding. Shallots have sparse, upright foliage that casts little shade, so weeds can get away between the plants and compete with them. Keep the bed clean, but weed carefully by hand or with a hoe used shallowly, because the bulbs sit near the surface and their roots are easily disturbed by rough digging around them.
Watering is rarely needed except in a prolonged dry spell while the bulbs are actively swelling; a soaking then will help them size up. As harvest approaches, however, stop watering and let the ground dry, which helps the bulbs ripen and keeps them sound for storage. Shallots do not want a rich diet, so feeding is generally unnecessary on decent soil and can even harm keeping quality if overdone.
If any plant sends up a flower stalk - a sign of bolting - it is usually best to pull it and use those bulbs first, as a bolted plant will not store as well. Otherwise, watch the clusters swell over spring and early summer, keep the weeds down, and let them get on with it.
Common problems and pests
Shallots are largely trouble-free, but a few things are worth knowing.
Bolting, where the plant runs to flower prematurely, is the most common disappointment and is usually triggered by a cold spell after planting or by stress. Using heat-treated sets, planting at the right time rather than too early, and keeping growth steady all reduce the risk. Bolted bulbs are still edible; just use them promptly rather than storing them.
Onion white rot is the disease to fear most. It attacks the roots and base of the bulb, causing yellowing, wilting and a fluffy white mould at the base, and its resting spores linger in the soil for many years. There is no easy cure, so the defence is prevention: rotate where you grow alliums, never plant shallots in ground known to carry it, and be careful not to bring it in on infected sets or soil.
Onion downy mildew can appear in wet seasons as pale patches and greyish mould on the leaves, weakening the plants; good spacing, airflow and rotation help keep it at bay.
Birds pulling up newly planted sets, as already mentioned, are more of a nuisance than a true pest, and are easily foiled with netting or fleece until the sets root. Allium leaf miner and onion fly can occasionally trouble the crop, and a covering of insect mesh over the plants deters both where they are a known problem.
Harvesting
Shallots are ready to harvest in summer, generally from around midsummer onwards, when the foliage begins to yellow, flop over and die back naturally. That collapsing, browning top growth is the signal that the bulbs have finished swelling and are ripening. Resist the temptation to bend the leaves over by hand to hurry things along, an old practice now generally discouraged, as it can bruise the necks and let in rot; let the tops go over in their own time.
To lift, ease the whole cluster out gently with a fork, loosening the soil beneath so the bulbs come away without tearing. Each set will have multiplied into a group of bulbs, which you can then separate. Choose a dry, sunny spell for lifting if you possibly can, as bulbs harvested and dried in warm dry weather keep far better than those pulled in the wet.
Handle the bulbs gently, as bruised or damaged shallots will not store, and set them aside to dry as soon as they are lifted.
Storing and preserving
Drying, or curing, is the key to storing shallots well, and shallots store superbly when it is done properly. After lifting, spread the separated bulbs out in a single layer somewhere warm, dry and airy with good air movement around them - outdoors in the sun on a dry day, in an open shed, or in a greenhouse in wetter weather. Leave them until the skins are papery and the necks have dried right down, which usually takes a couple of weeks.
Once thoroughly dry, rub off any loose soil and old roots, discard any that are soft, thick-necked or damaged for eating first, and store the sound bulbs. A cool, dry, airy place is ideal, somewhere frost-free but not warm, such as a cool shed or pantry. Keep them in net bags, open trays or slatted boxes so air can circulate, or plait the dried tops into strings and hang them up, which both stores them well and looks handsome. Well-dried shallots stored this way will keep firm and sound for many months, often right through to the following spring.
Do not seal them in plastic, which traps moisture and starts them rotting. Check the store now and then and remove any that are going soft before they spoil their neighbours. You can, of course, also pickle shallots, for which the small firm whole bulbs are ideal.
Is it worth it?
Without question. Shallots sit near the top of the list for effort-to-reward in the vegetable garden. You plant a handful of sets in late winter, do almost nothing beyond a bit of weeding, and lift a generous multiplied crop in summer that then keeps for the best part of a year. For a beginner it is about as close to a guaranteed success as growing gets.
Add in that shallots are pricier than onions to buy, milder and finer in flavour, and easily saved and stored, and the case is overwhelming. There is really no catch worth mentioning beyond the small risk of bolting, which the right sets and timing largely see off. If you have a sunny patch of well-drained ground, shallots are one of the smartest and most satisfying crops you can plant.