Whittle the pruning pile.
Every winter the garden hands you a pile of straight, green, perfectly carvable wood and most of it goes on the bonfire. Whittling is the gentlest of the knife crafts - a stick, a sloyd knife, four basic cuts and a slow hour - and the garden supplies better material than any shop.
This page is the honest beginner's road: which of your trees and shrubs carve well, the cuts and safety habits that make it calm rather than hazardous, and the traditional first project that teaches all of it at once.
What you need
🌳 Materials
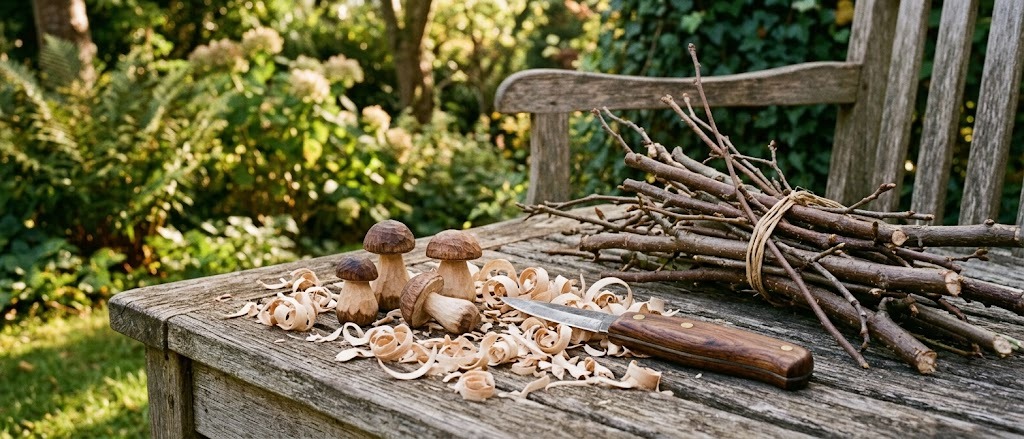
- Green wood from the garden. Freshly pruned branches, wrist-thick and straight: birch, lime, willow, hazel, sycamore, fruit-tree prunings. Green (fresh) wood carves like cheese next to dry.
- A bandage or two. In the pocket, not as pessimism - as custom. Every whittler nicks a thumb eventually; the prepared ones shrug.
🧰 Tools
- A fixed-blade sloyd knife. The Scandinavian whittling pattern: short, stiff blade, barrel handle. A folding knife that locks is the acceptable substitute; a kitchen knife is not.
- A small saw. For cutting blanks to length.
- Strop. A strip of leather glued to a board keeps the edge polished - a sharp knife is the safe knife, because it goes where pushed instead of skating.
The craft, step by step
1Know your garden's woods
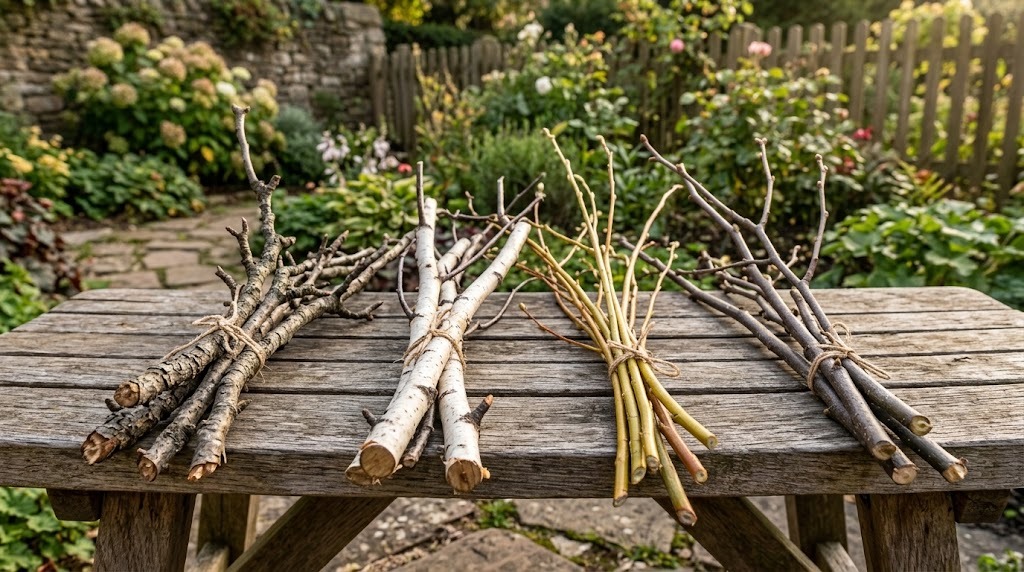
Every pruning pile is a wood library. Lime (linden) is the classic carver - so soft and even that most European carving traditions grew up on it. Birch is the Scandinavian spoon wood: a touch harder, lovely grain, everywhere. Willow and poplar are soft and fast, good for first shapes, a bit woolly at the edges. Hazel is straight, tough and springy - the walking-stick and wand wood. Sycamore and maple carve sweetly and take detail. Fruit woods - apple, plum, cherry - are hard, dense and beautiful, worth saving for small treasures once your knife arm knows what it is doing. Avoid for now: oak (hard and coarse), fresh conifer (sticky with resin), and anything from a laburnum or yew, both of which are toxic enough that their dust and shavings are not worth having around.
2Cut blanks and think green
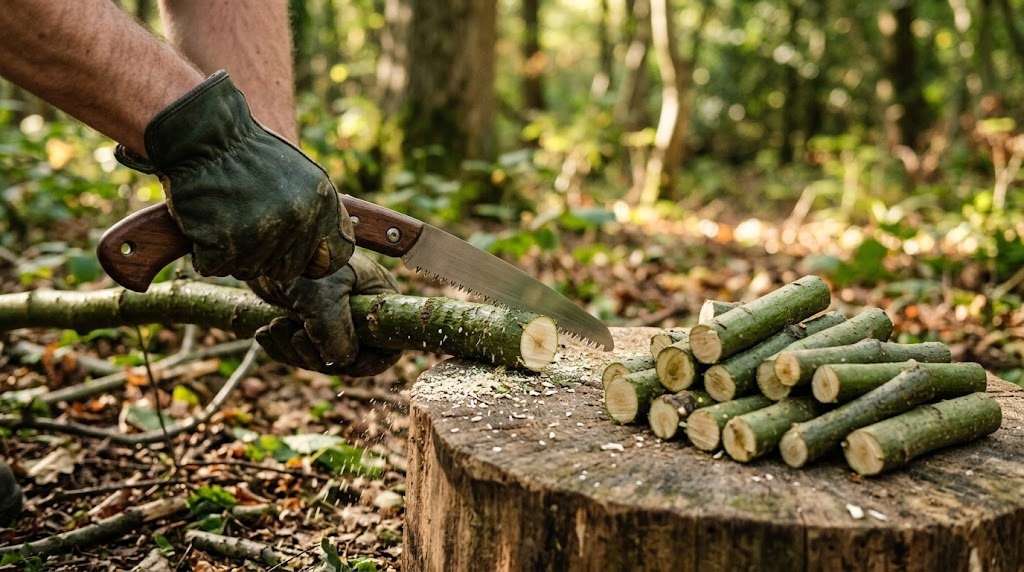
Whittling season is pruning season. Cut straight sections a hand-span to a forearm long, and carve them green - fresh wood is dramatically softer, and the difference is the difference between a pleasant hour and a blistered one. What you cannot carve now, seal the ends of (old paint or glue) and store somewhere cool; unsealed billets crack from the ends as they dry. Split thicker billets down the middle before carving anything from them - the very centre of a branch (the pith) is where drying cracks start, so serious little projects come from the halves, not the whole round.
3Learn the four cuts
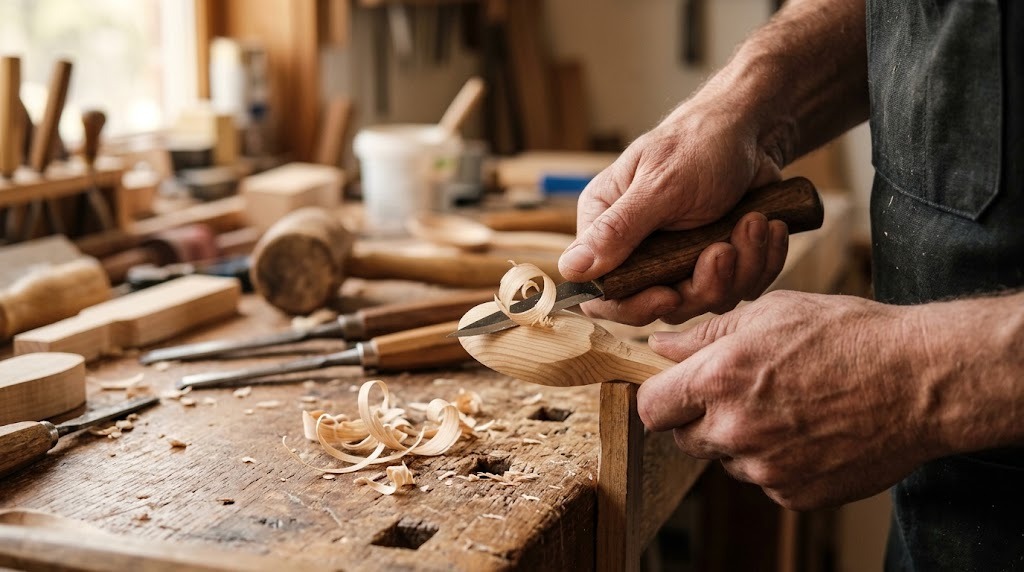
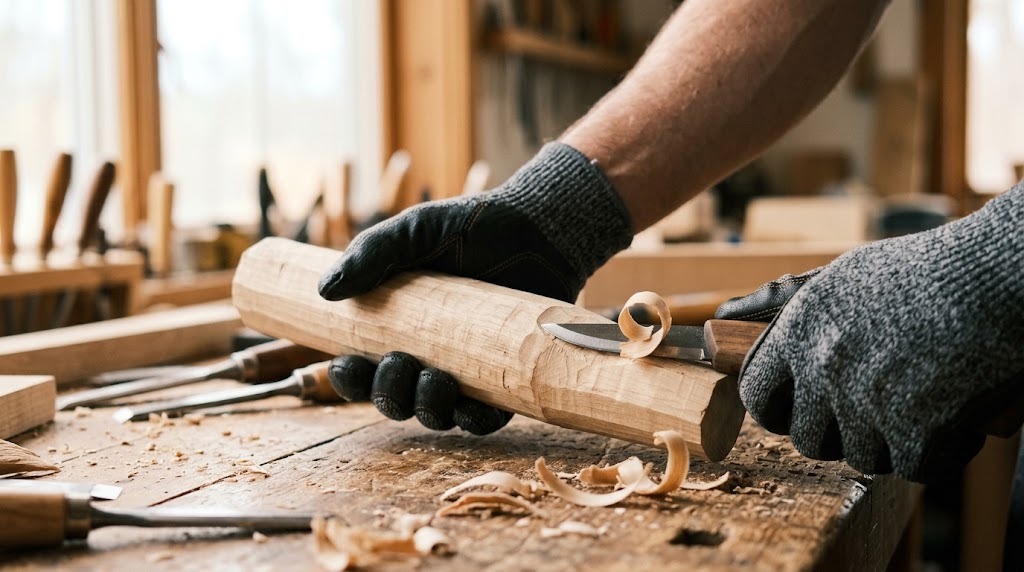
Whittling is four moves, learned in an evening and polished for years. The push cut: knife moves away from you, thumb of the wood hand pushing the back of the blade for control - the workhorse. The paring cut: like peeling a potato, blade drawing toward your braced thumb, wood removed in thin controlled shavings - maximum control, smallest bites. The stop cut: a firm cut straight down across the grain that gives following cuts a wall to break against - it is how you make shoulders and notches. And the V-cut: two angled cuts meeting in a valley, the basis of every line, letter and eye a whittler ever carves. Every project below is just these four in different orders.
4The safety habits that matter
The rules are few and absolute. Carve away from your body as the default; when a paring cut must come toward you, your thumb sits below the blade's path and the bites stay small. The hand holding the wood lives behind the edge, never in front of it. Sit down, elbows on knees - the blood triangle rule: never carve over your femoral artery, keep the work outside your thighs. Sheath or fold the knife every time it leaves your hand, even for a second. And keep it stropped: dull blades demand force, and force is what slips. None of this is dramatic; it is exactly the calm routine that lets ten-year-olds in Scandinavian schools whittle safely every week.
5First project: a mushroom
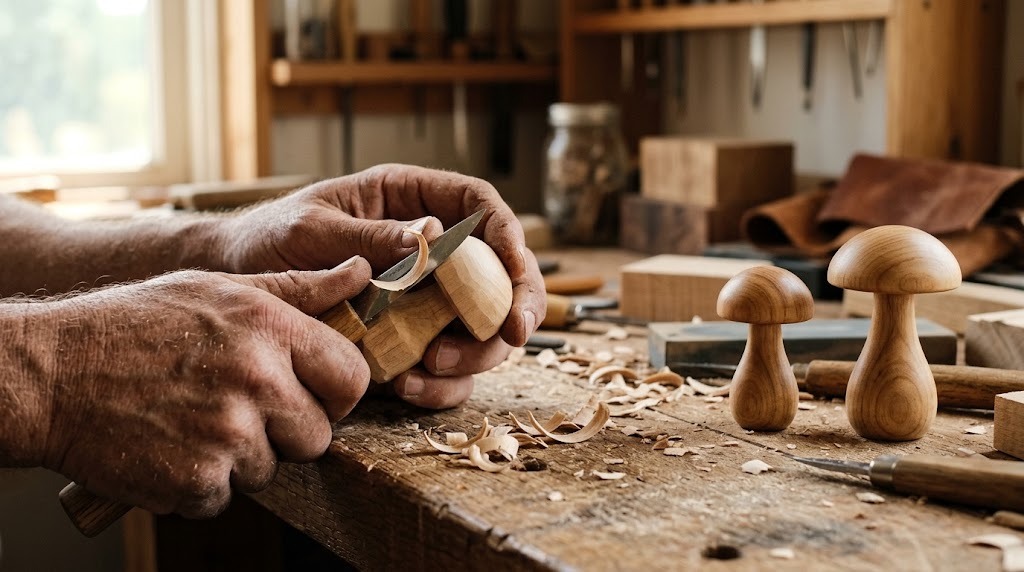
The traditional first carve, because it teaches everything and cannot fail. Take a green birch or willow blank, thumb-thick, a hand long. Stop cut a ring around the middle - this will be the underside of the cap. Push-cut from the ring down toward one end, rounding a stem; pare from the top down to the ring, doming a cap. Refine: thin the stem, sweeten the cap's curve, add a V-cut or two under the cap for gills. Leave the knife facets showing - faceted little mushrooms look carved, sanded ones look like factory losses. One evening, one mushroom; by the third mushroom your cuts will be half as many and twice as sure, and that is the entire pedagogy of whittling.
6Where it goes next
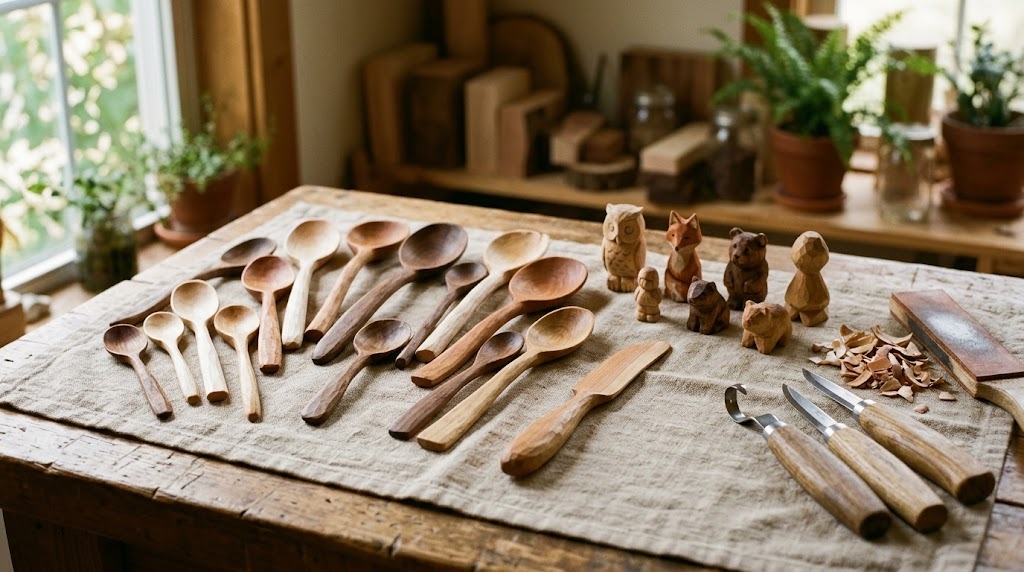
After mushrooms: a butter knife (the first useful thing, all push and paring cuts), a simple bird form, a hazel walking stick with a carved top - and then, when the itch demands it, the spoon, which is whittling's graduation piece and brings two new tools (a hook knife for the bowl, an axe for roughing out) and a whole literature of its own. Finish anything that touches food with a food-safe oil such as pure tung or walnut oil; wax mixed with oil suits everything ornamental. And keep the shavings pile: it is kindling, mulch and the visible proof of a calm hour.